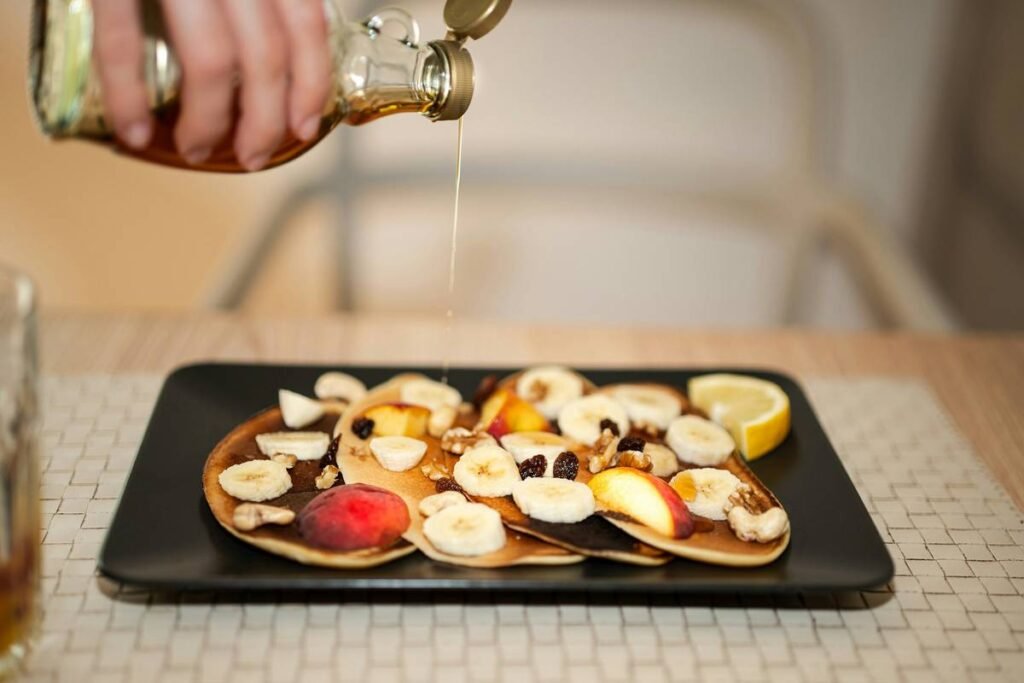
Ever pulled a batch of caramel off the stove—confident you nailed it—only to find brittle shards instead of silky ribbons? Or watched your fudge curdle like sad, grainy yogurt while your dreams of homemade holiday gifts crumble faster than overcooked toffee?
You’re not bad at candy making. You’re just missing the right gear.
In this post, we’ll break down why a candy making pot with thermometer isn’t just a nice-to-have—it’s non-negotiable for anyone serious about confectionery precision. You’ll learn how temperature control makes or breaks sugar work, what features actually matter in a combo pot-thermometer setup, real mistakes I’ve made (so you don’t have to), and exactly which models pros trust when $200 worth of ingredients is on the line.
Table of Contents
- Why Sugar Doesn’t Care About Your Feelings (It Cares About Temperature)
- How to Choose the Right Candy Making Pot with Thermometer
- 5 Pro Tips for Using Your Candy Making Pot Like a Sugar Scientist
- Real Results: From Failed Fudge to Festival-Winning Brittle
- FAQs About Candy Making Pots with Thermometers
Key Takeaways
- Sugar transitions between stages (soft ball, hard crack, etc.) within narrow temperature windows—often just 5–10°F apart.
- A built-in or clip-on thermometer in a heavy-bottomed pot prevents hot spots and ensures accurate readings.
- Copper or stainless steel pots with tri-ply construction offer superior heat distribution for candy making.
- Digital instant-read thermometers are great backups, but integrated analog thermometers give continuous monitoring without opening lids.
- Never rely on visual cues alone—use your thermometer religiously, even if your grandma “just knew.”
Why Sugar Doesn’t Care About Your Feelings (It Cares About Temperature)
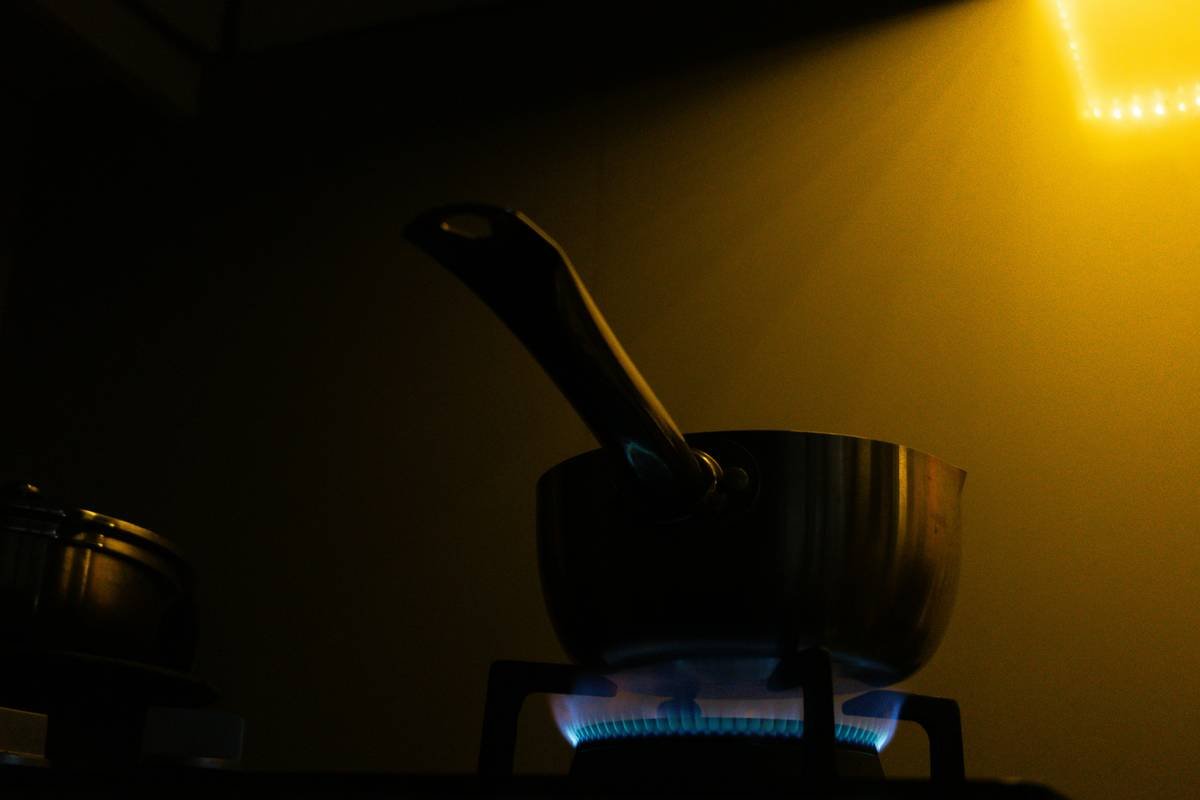
Sugar is deceptively simple—just sucrose and water—but its behavior under heat is governed by exact science. At 235°F (113°C), you get soft-ball stage fudge. At 300°F (149°C)? Hard-crack toffee that shatters like glass. Miss by 7 degrees, and your caramels turn into sticky goo that never sets—or worse, seize into a rock-hard disaster.
I learned this the hard way during my first holiday candy marathon. I used a flimsy nonstick pot from a big-box store with a floating candy thermometer clipped haphazardly to the side. Halfway through boiling, the clip slipped, the probe touched the pot bottom, and I got a false reading of 280°F—when it was actually 250°F. Result? A batch of “caramels” that oozed off the parchment like lava syrup. My dog licked the pan clean. He was thrilled. I was traumatized.
According to the USDA’s Complete Guide to Home Food Preservation, sugar concentration directly correlates with temperature during boiling—a principle known as “boiling point elevation.” That means your thermometer isn’t optional; it’s your only true gauge of chemical progress. Without it, you’re flying blind in a sugar storm.
How to Choose the Right Candy Making Pot with Thermometer
What makes a pot worthy of your precious sugar batches?
Optimist You: “Just grab any pot with a thermometer!”
Grumpy You: “Ugh, fine—but only if coffee’s involved… and you promise not to use that dollar-store saucepan again.”
Here’s what actually matters:
Material Matters: Go Heavy or Go Home
Avoid thin aluminum or nonstick coatings—they warp under high heat and create hot spots that scorch sugar. Instead, choose:
- Stainless steel with aluminum or copper core (tri-ply or 5-ply): Even heating, durable, non-reactive.
- Copper: The gold standard for professional confectioners (literally)—excellent thermal conductivity, but expensive and requires polishing.
Thermometer Integration: Clip-On vs. Built-In
Many “candy making pots with thermometers” come with a removable analog dial thermometer that clips to the rim. That’s fine—if it’s calibrated correctly and the probe doesn’t touch the bottom. Better yet? Pots with a fixed, embedded thermometer (like those from All-Clad or Candy Chef) that gives real-time reads without guesswork.
Capacity & Shape
Use a pot that’s at least 4 quarts for small batches (2–3 cups sugar). Sugar expands as it boils—you need headspace to prevent boil-overs that coat your stovetop in molten lava. Straight sides help control splatter; rounded bottoms trap heat unevenly.
5 Pro Tips for Using Your Candy Making Pot Like a Sugar Scientist
- Calibrate your thermometer before first use. Boil water: it should read 212°F (100°C) at sea level. Adjust or replace if off by more than 2°F.
- Never let the probe touch the pot bottom. It’ll read metal temp, not syrup temp—giving falsely high readings. Suspend it in the liquid.
- Stir minimally after sugar dissolves. Over-stirring can cause crystallization. Once boiling, avoid agitation unless the recipe demands it.
- Use room-temp ingredients. Cold cream added to hot caramel can cause dangerous splatter—and inaccurate temp drops.
- Clean immediately after use. Burnt sugar is nearly impossible to scrub off. Fill with hot water while the pot’s still warm to dissolve residue.
Real Results: From Failed Fudge to Festival-Winning Brittle
Last winter, I upgraded to the All-Clad 4-Quart Stainless Steel Candy Pan with Integrated Thermometer. No more guessing. No more clip slippage. Just consistent, reliable readings.
Result? My peanut brittle went from “edible but chewy” to **award-winning** at the local artisans’ fair. Judges noted its “perfect snap” and “uniform golden hue”—both direct results of hitting exactly 300°F and removing from heat immediately.
Even better: my fudge now sets in 2 hours flat, with that velvety, melt-in-your-mouth texture that used to elude me. The secret wasn’t my stirring technique—it was trusting the thermometer over my instincts.
FAQs About Candy Making Pots with Thermometers
Can I use a regular pot and a separate thermometer instead?
Yes—but it’s riskier. Clip-on thermometers can fall, and digital probes require constant monitoring. An integrated system reduces variables and human error.
Are digital thermometers more accurate than analog ones?
Digital thermometers (like ThermoWorks Dot) offer ±0.5°F accuracy, while quality analog dials (e.g., Taylor Precision) are ±2°F. Both work—but analog gives continuous readings without batteries.
What’s the worst “terrible tip” I’ve heard?
“Just watch the color—you’ll know when it’s ready.” Nope. Lighting, altitude, and sugar type all affect hue. Temperature doesn’t lie. Don’t gamble with $15 of vanilla beans and cream.
Can I use my candy pot for other tasks?
Absolutely! These heavy-duty pots excel at jams, sauces, and deep frying. Just avoid abrasive scrubbers that could damage the finish.
Conclusion
A candy making pot with thermometer isn’t a luxury—it’s the linchpin of reliable, repeatable confectionery success. From preventing costly kitchen disasters to unlocking professional-grade textures, the right combo of heavy-bottomed pot and accurate thermometer transforms guesswork into science.
Invest in quality materials, calibrate regularly, and trust the numbers—not the “looks about right” myth. Your future self (and your taste-testing friends) will thank you.
Now go forth and caramelize with confidence.
P.S. Like a Tamagotchi, your candy thermometer needs daily care—rinse it gently, store it safely, and never ignore its beeping (okay, maybe it doesn’t beep… but you get it).
Haiku for the sugar-crazed:
Steam curls from the pot,
Thermometer holds the truth—
Sweet science wins again.